

UnMoulding
There is a very specific technique for getting the very best from a ceramic mould, their mass and the thickness of the moulds mean you cant just leave them in warm water to melt the outer skin of the jelly as you can with modern or metal moulds. If you follow the steps below, I promise you'll get beautiful, crisp and clean jelly from any ceramic mould.
How to Use A Ceramic Mould
Follow the four simple steps below to get the very best definition and an easy release from any ceramic mould
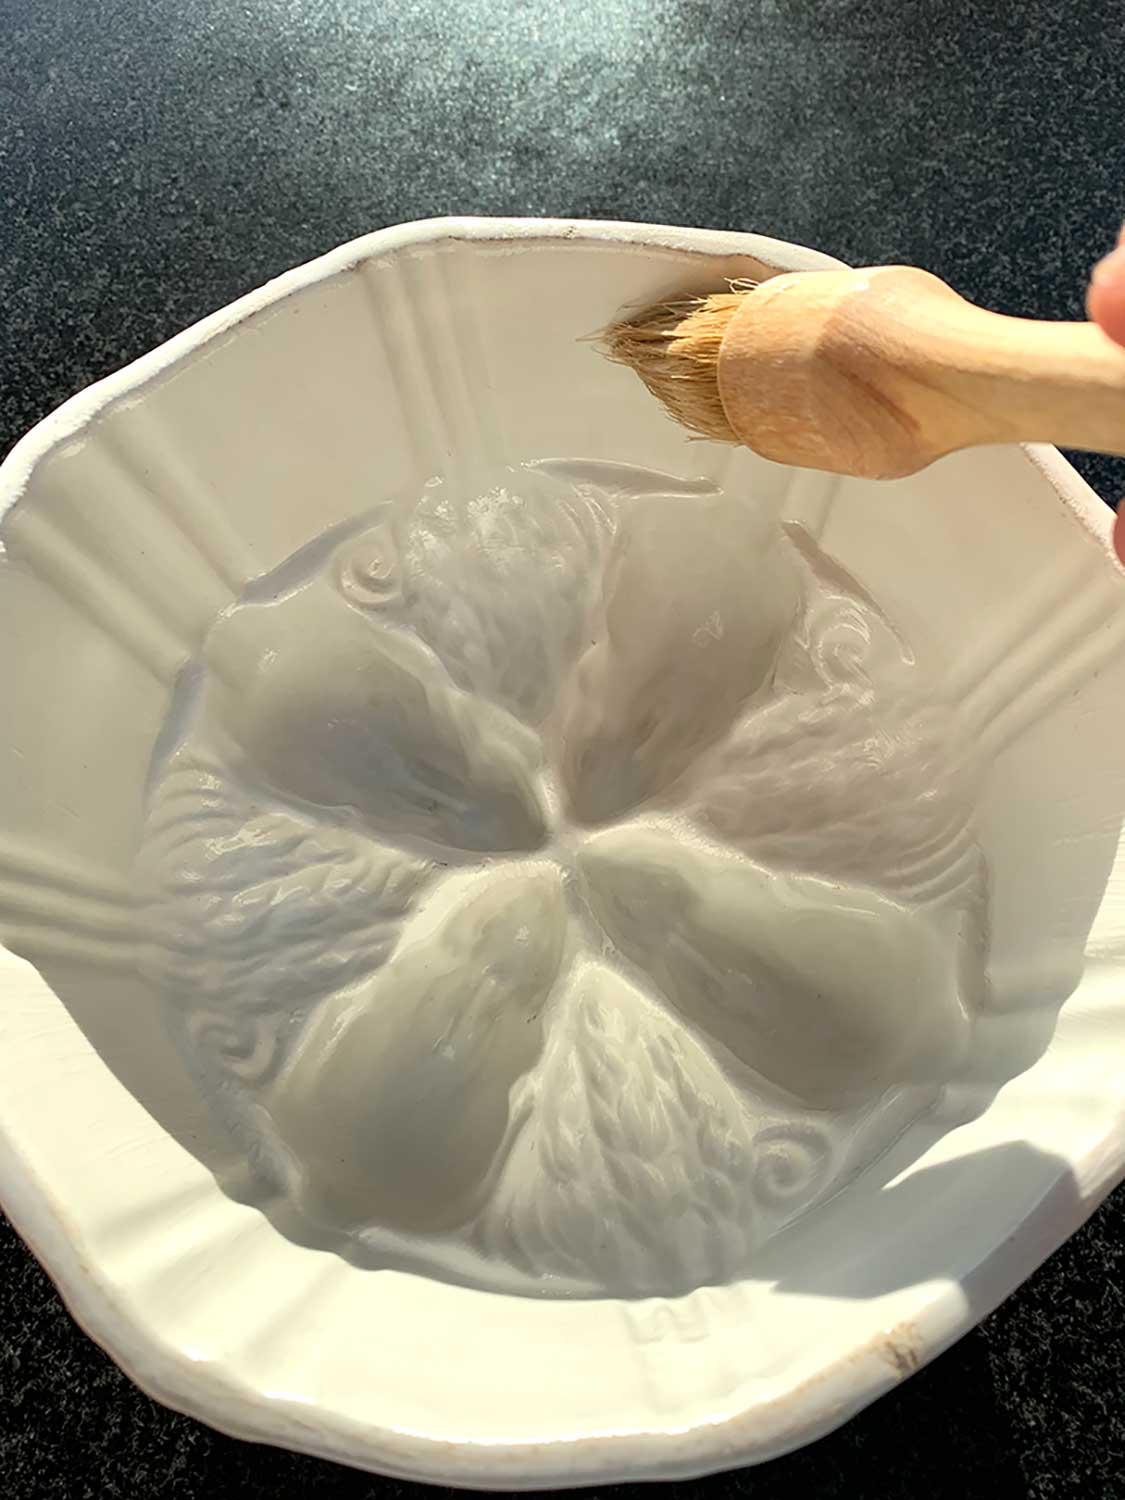
Step 1.
Line your mould with Trex - a vegetable baking fat used to make pastry, cakes and biscuits.
Bring to room temperature and using a pastry brush, paint a thin layer all over the inside of your ceramic mould and place mould in fridge for a few hours to chill completely.
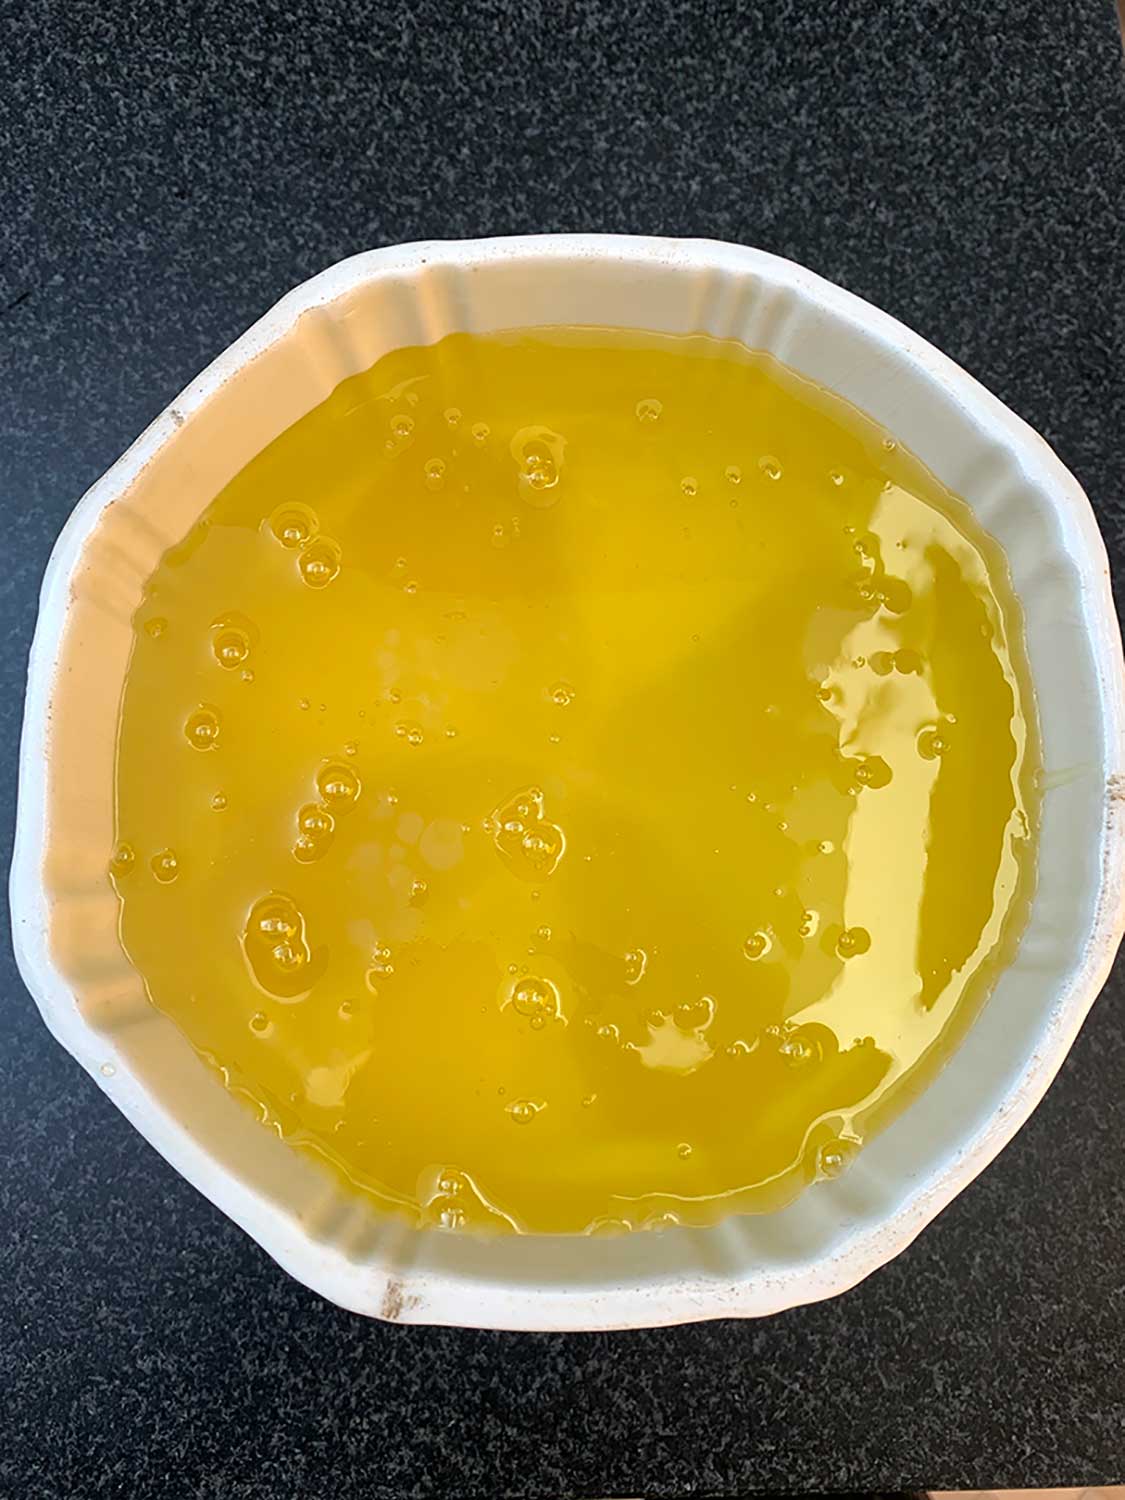
Step 2.
Make your jelly mix and leave to cool to room temperature, perhaps stir occasionally to keep it fluid.
Take your now chilled mould from the fridge and pour in your cold jelly mix.
Place your mould in the fridge overnight to set the jelly.
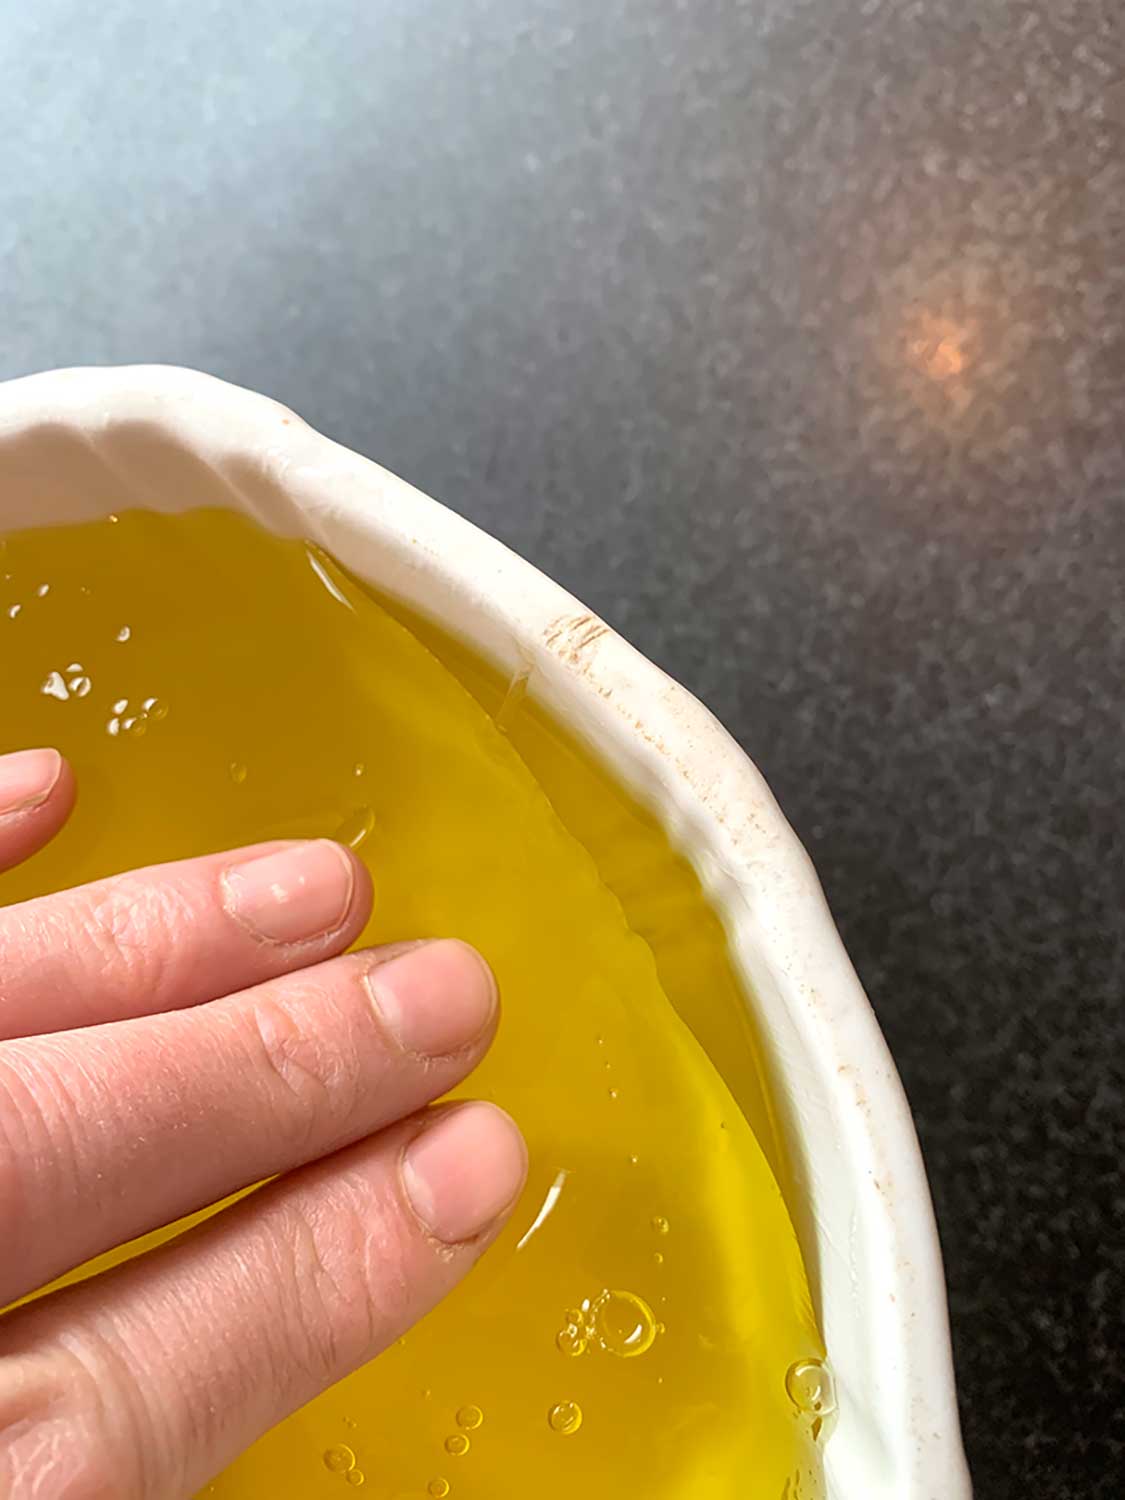
Step 3.
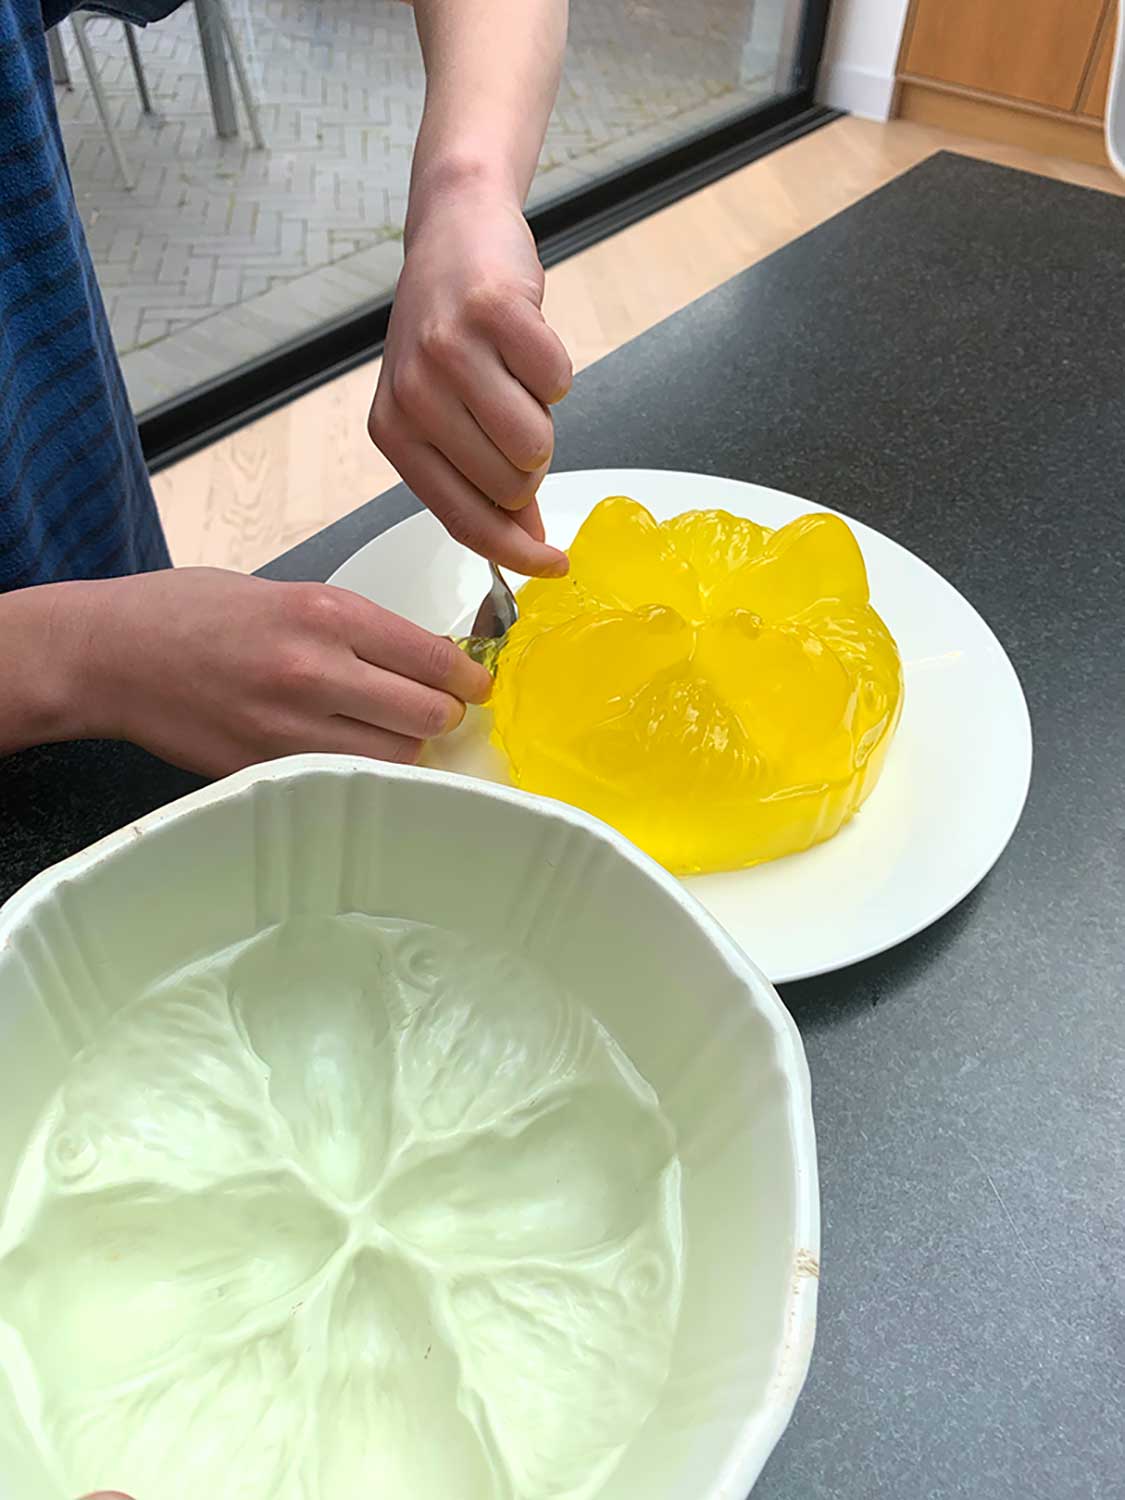
Use the flats of your fingers to ease your way around the top of the jelly, gently pulling away from the sides of the mould and getting air down the side.
Be very careful not to tear the jelly, the aim is to loosen it all the way around the mould.
Step 4.
Upturn onto a wet plate and give the mould and plate a good swift thrust to release. It can take a couple of attempts.
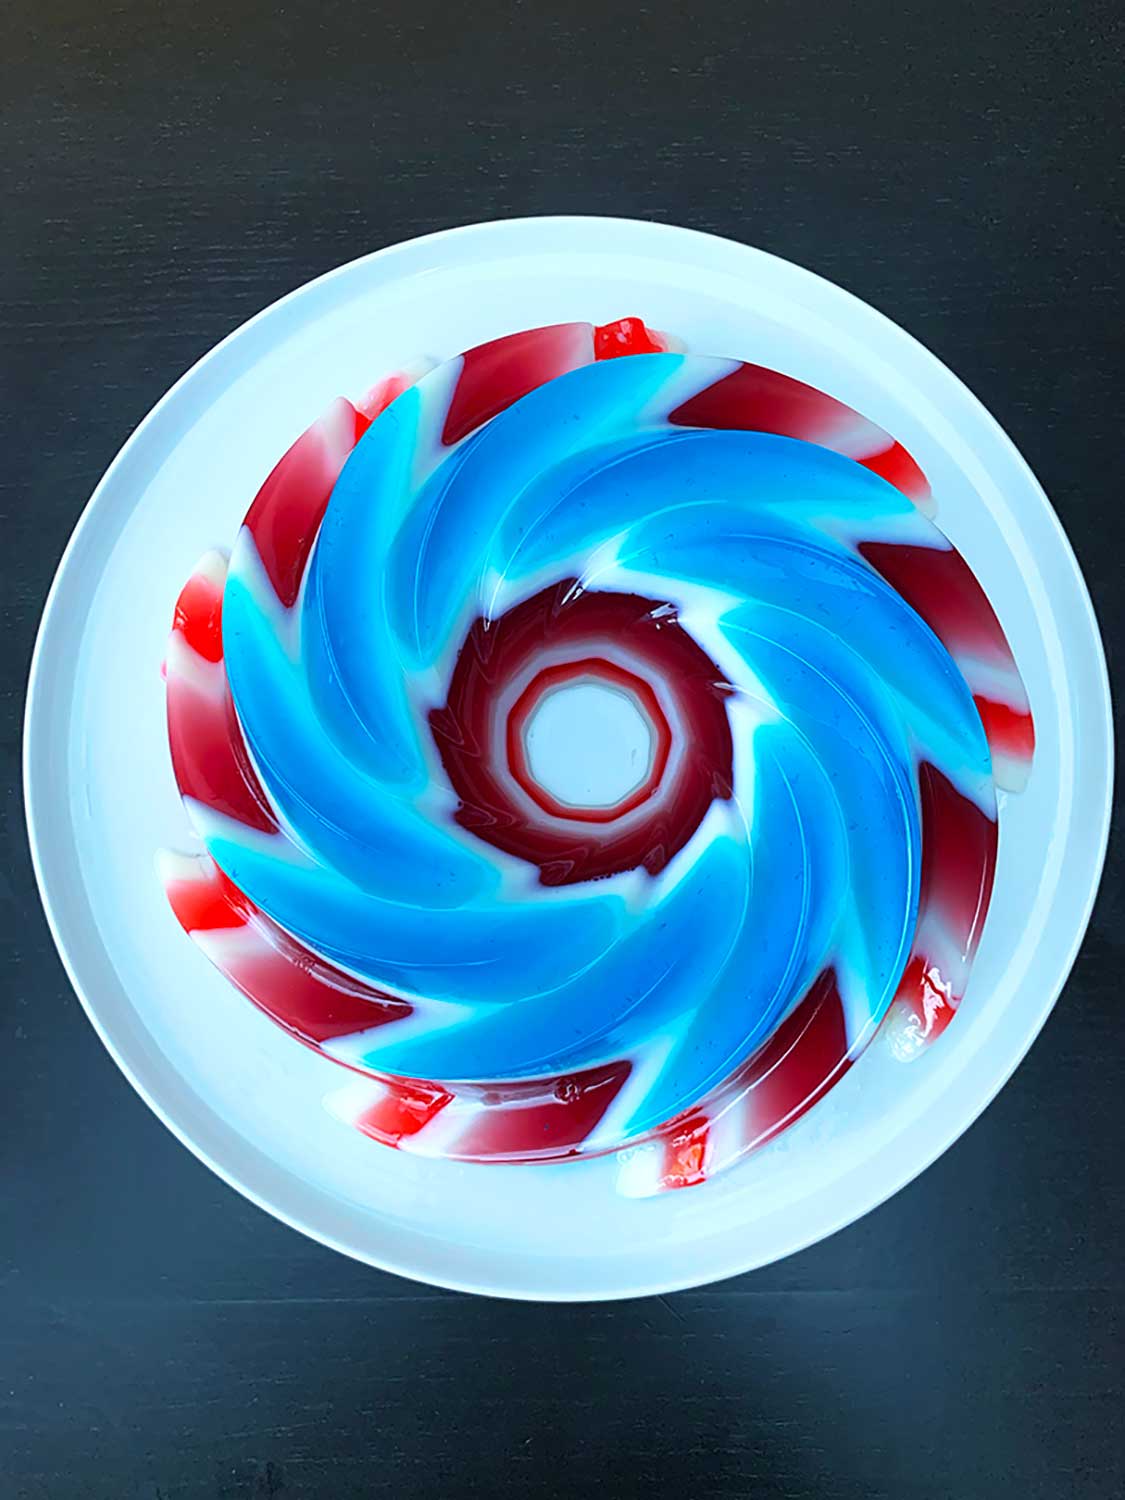
Upon the release, the jelly comes out leaving the fat lining behind in the mould (in case you were worried!)
Please do not on any account use warm water to try to release the jelly, the fat will melt and mix with your jelly which will taste awful.